Host Software Guide
The host software is developed in Python and communicates with the device using the TCP protocol.
We recommend operating the device using the host software in a Jupyter environment. This allows you to use the built-in control panel to reduce the amount of code you need to write and view the effects of parameter changes on the device in real-time via the oscilloscope panel.
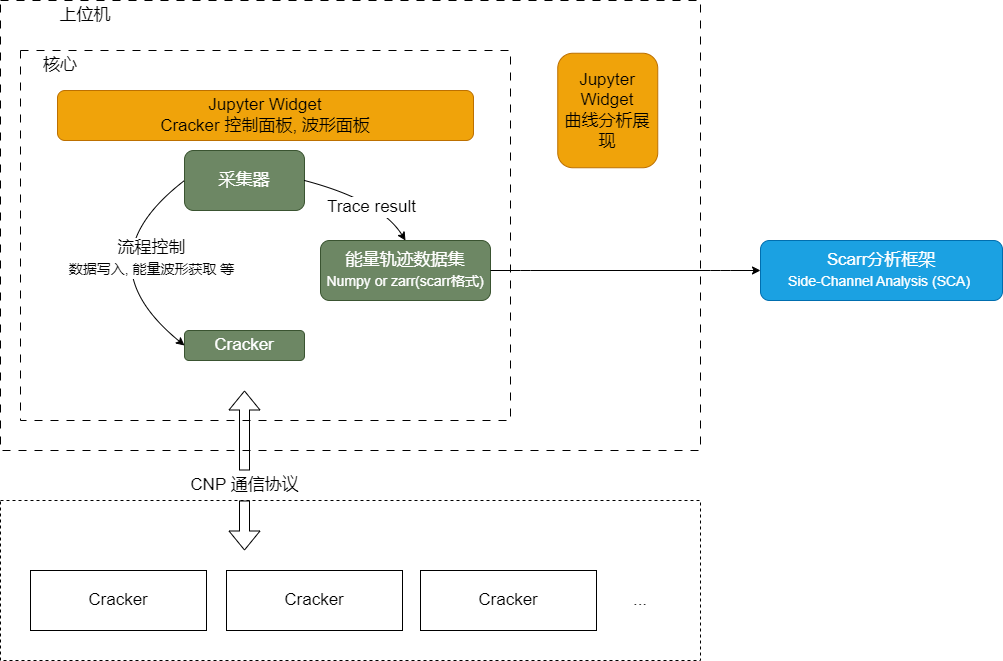
The overall architecture of the host software is shown below:
For API documentation of the host SDK, visit https://cracknuts.readthedocs.io/zh-cn/stable/.
In the host software, Cracker represents the device, and Acquisition represents the data acquisition process. These two modules enable control of the device and data acquisition.
Command Line Tools
After installing CrackNuts, the following cracknuts command is available in the console, offering convenient Jupyter shortcuts:
- Launch
Jupyter labcracknuts lab - Open tutorials
cracknuts tutorials - Create a new notebook
cracknuts create -t [template name] -n [new notebook name] - Global configuration
cracknuts config set lab.workspace # Set default working directory for cracknuts lab
Basic Usage of the Host Software
After successful installation, the host software can control the device using Python. For example, you can interactively configure the device as follows:
-
Start the
Pythonenvironment:
If you used the quick installer, you can launch theCrackNutsenvironment via a shortcut. Otherwise, activate your Python environment with the necessaryCrackNutsdependencies.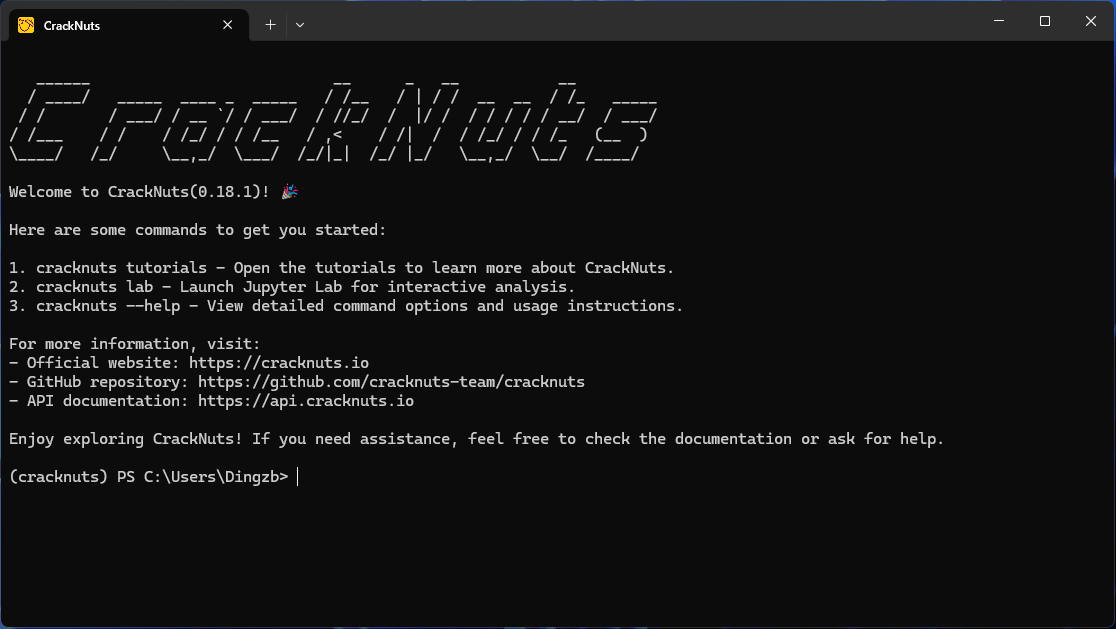
-
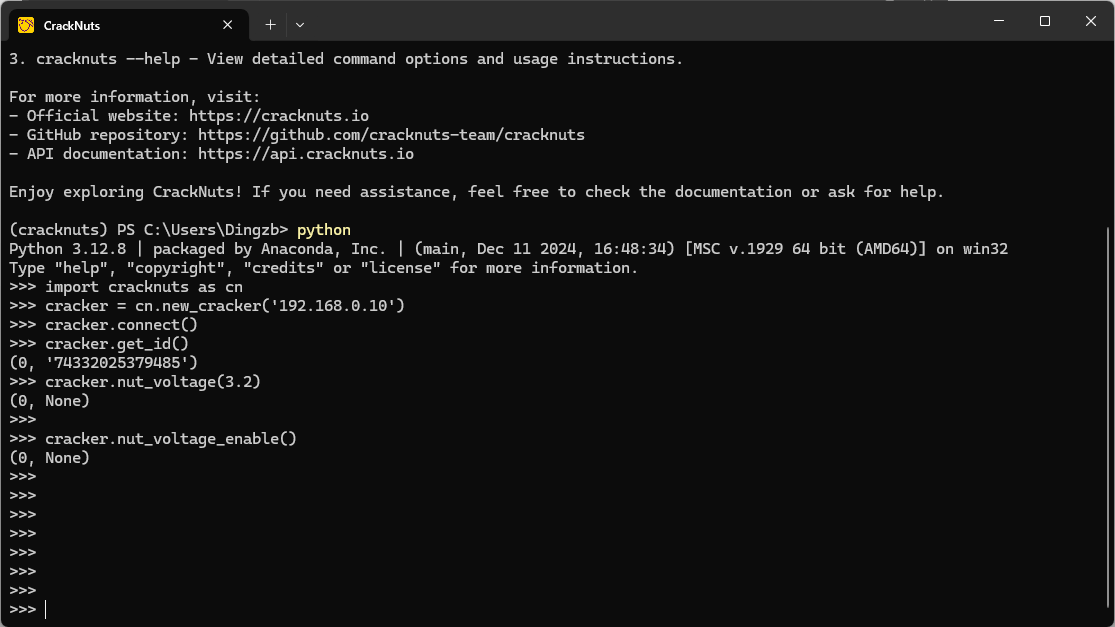
Connect to the device and set Nut voltage
Code explanation:
>>> import cracknuts as cn
>>> cracker = cn.new_cracker('192.168.0.211')
>>> cracker.connect()
>>> cracker.get_id()
(0, '74332025379485')
>>> cracker.nut_voltage(3.2)
(0, None)
>>> cracker.nut_voltage_enable()
(0, None)
>>>
This completes a simple host control process. For more options, refer to the API documentation.
Acquisition Process
In the “Quick Start” section, you may have noticed that energy waveform acquisition requires only controlling the Nut. This is because CrackNuts uses a simplified acquisition process designed to reduce complexity and let users focus on encryption flow control.
This process is managed by the Acquisition class, created as the acq object before using the control panel. It handles command sending, encrypted data saving, and energy trace saving, while exposing init and do hooks for user logic. Features include:
- GUI-based parameter configuration with real-time waveform display;
- Auto-saving of configuration for reproducibility;
- Auto-saving of captured waveform data for analysis.
Acquisition process structure:

Cracker and Nut timing sequence:

You need to implement two functions: init() (runs once before acquisition) and do() (runs in a loop). Inside, commands are sent to Nut via Cracker, and responses are returned to the host software.
After init(), osc_single() is automatically issued to enter "ready to acquire" mode. Triggers can be configured via GUI or code.
During do(), triggering is monitored. Once conditions are met, waveform data is acquired and saved.
Code example (from Quick Start):
# ... [omitted for brevity, same as original]
Required parameters for new_acquisition:
cracker: the Cracker device managed by this acquisitiondo: user-defined encryption logic and waveform metadatainit: preparation logic before acquisition begins
The GUI (covered in a later section) offers additional configuration options:
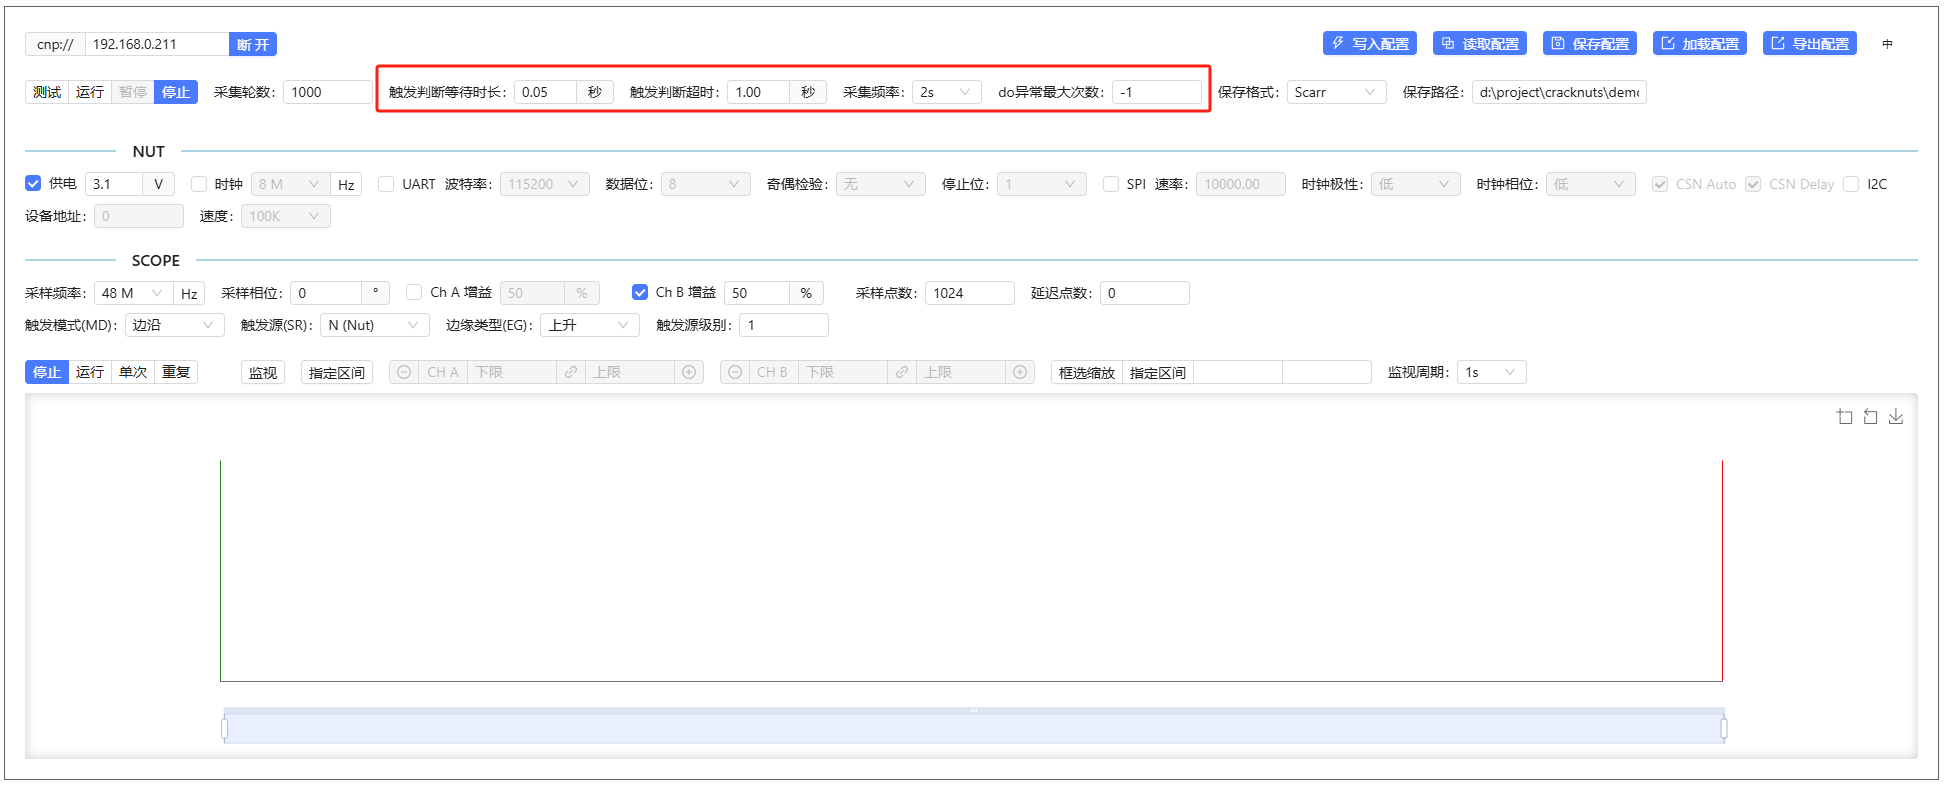
Key options (do not modify unless familiar with the process):
- Trigger check interval
- Trigger timeout
- Acquisition frequency (test mode)
- Maximum allowed exceptions in
do()function
Additional control panel features:
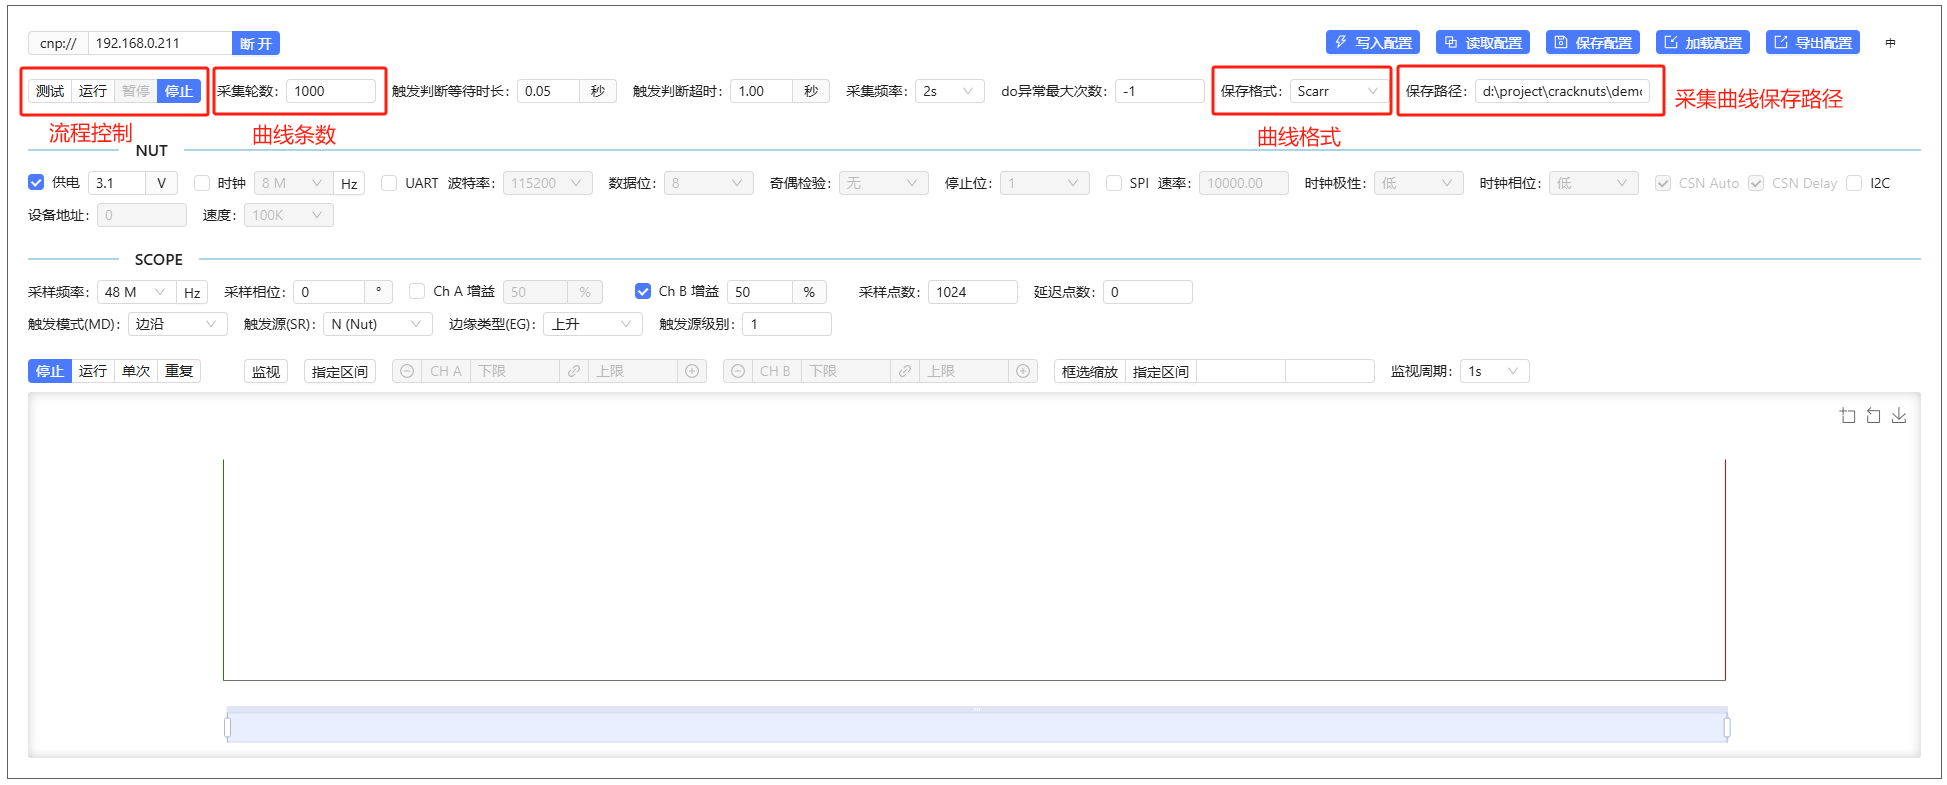
- Process state:
- Test: perform actions but do not save waveforms
- Run: full acquisition and saving
- Pause/Stop: control current execution
- Capture count: number of waveforms to collect
- Save format: default
scarr, optionalnumpy - Save path: directory for saving waveform files (timestamped)
See upcoming sections for more panel functionality.
Using CrackNuts in Jupyter
Besides using the Python console or scripts, CrackNuts is best used in a Jupyter environment with its integrated GUI.
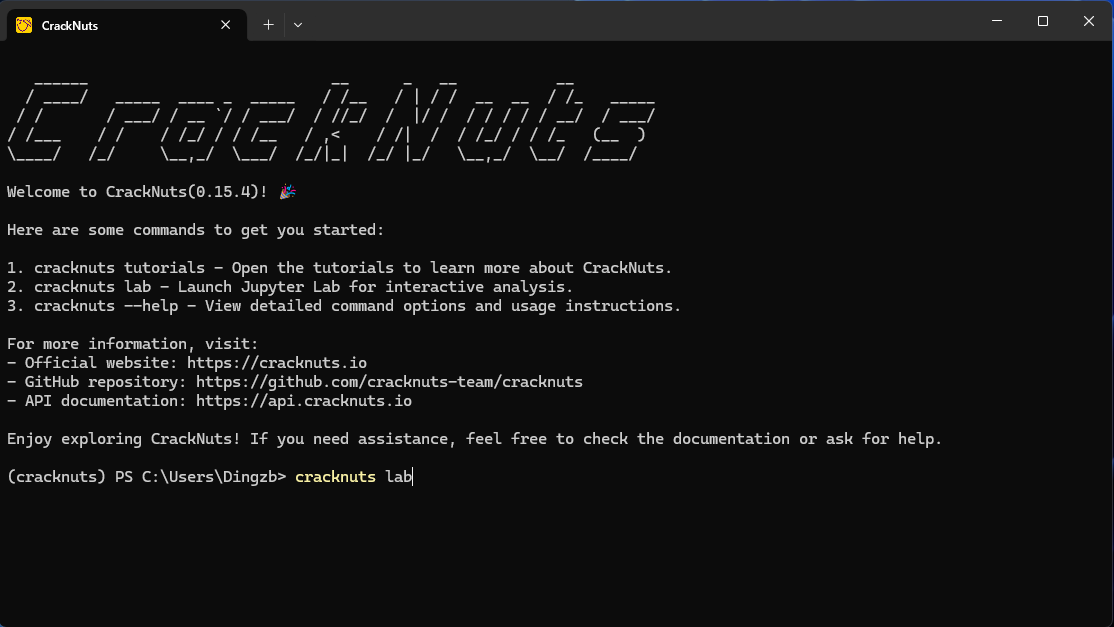
Launch with:
cracknuts lab
Create a new notebook:
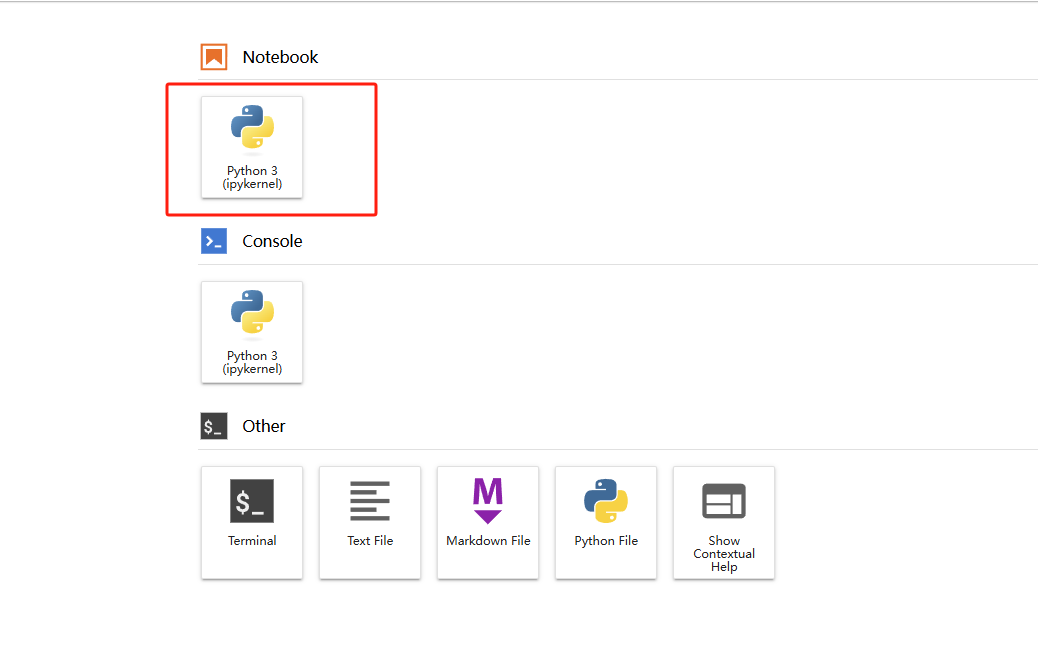
In two cells, run the following:
import cracknuts as cn
cracker = cn.new_cracker('192.168.0.10')
cracker.connect()
cracker.get_id()
cracker.nut_voltage(3.1)
cracker.nut_voltage_enable()
Run each cell (Ctrl+Enter or Shift+Enter):

Control Panel Components
Run the following to open the GUI panel:
acq = cn.new_acquisition(cracker)
cn.panel(acq)
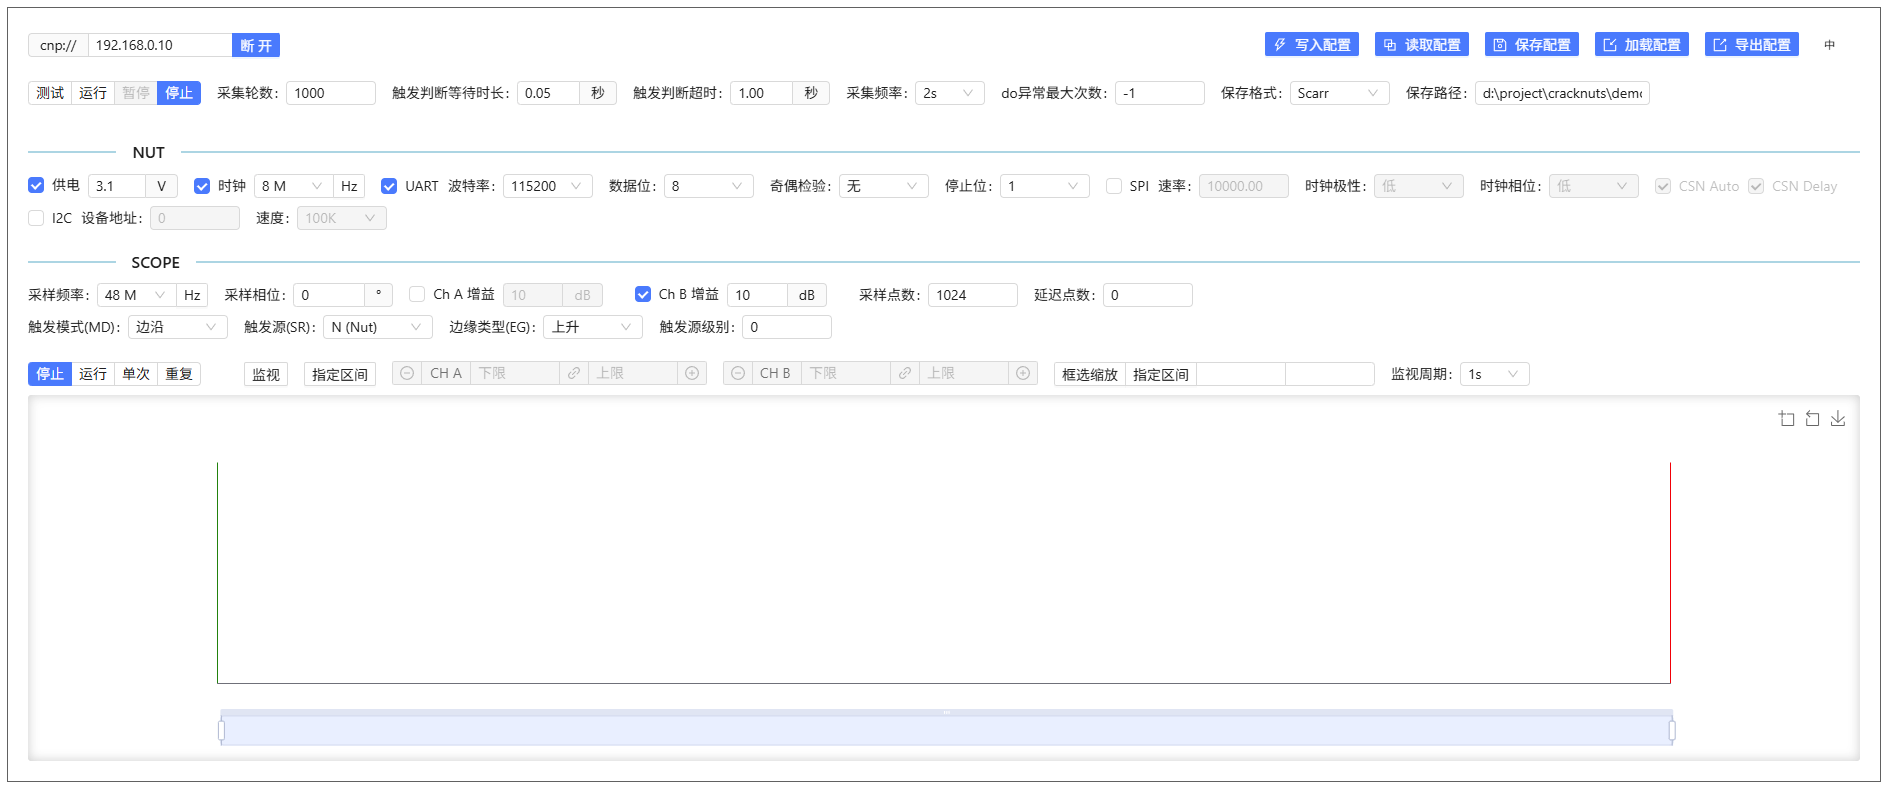
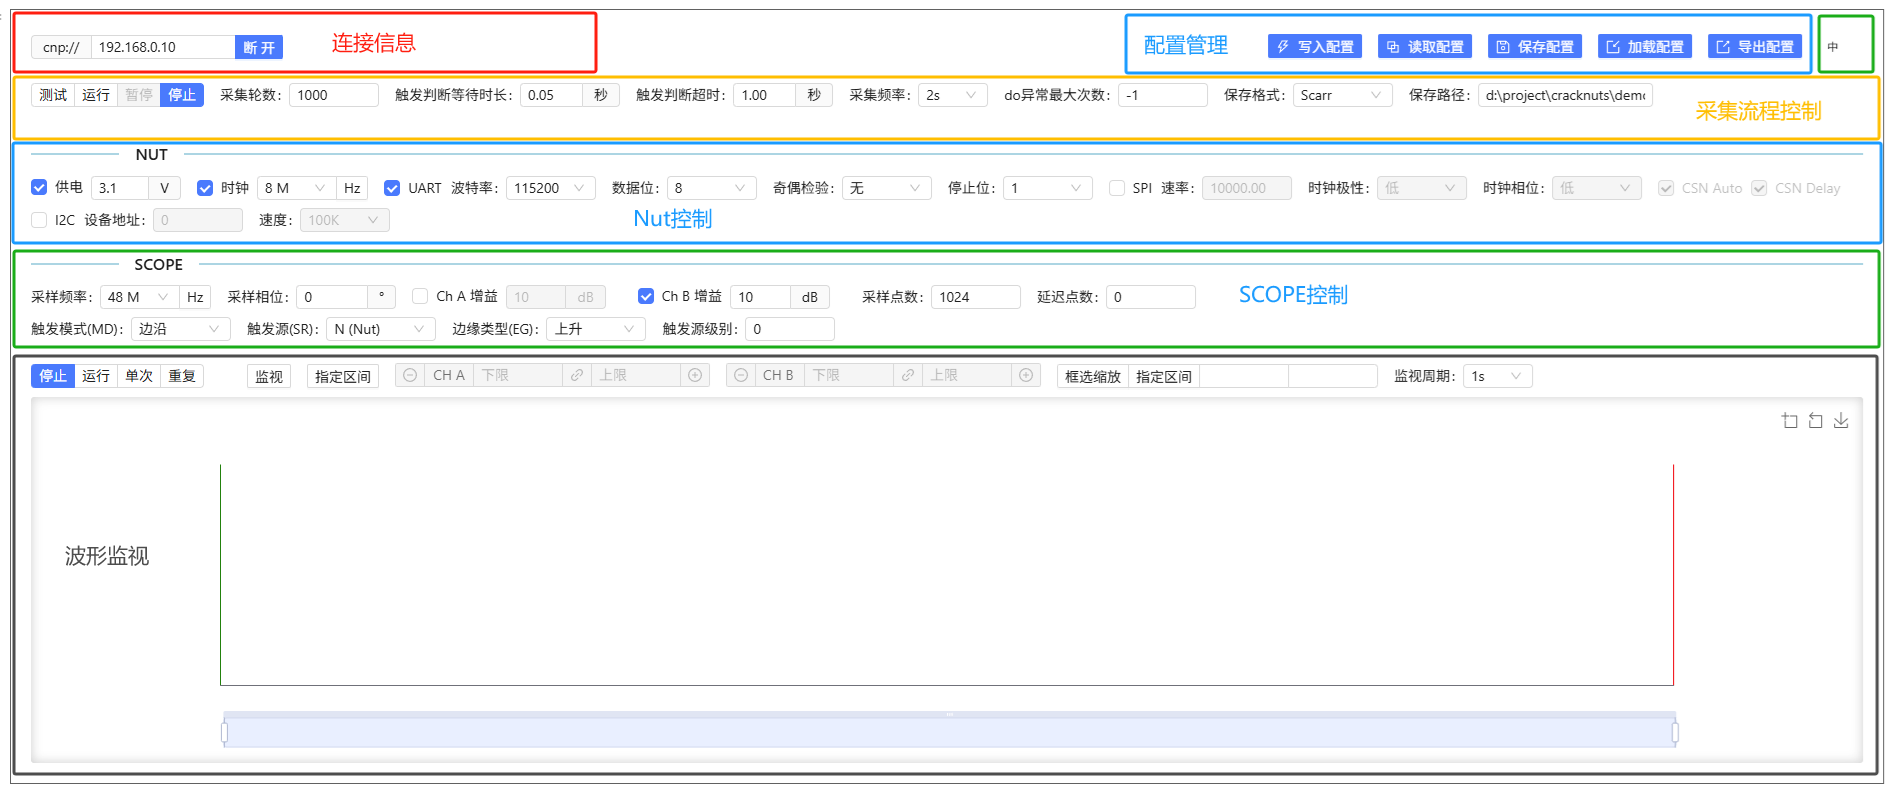
The panel includes:
- Acquisition Manager
- Nut Manager
- Scope Manager
- Waveform Viewer
Jupyter Panel Configuration
The panel allows saving/loading of configurations and syncing with the device:
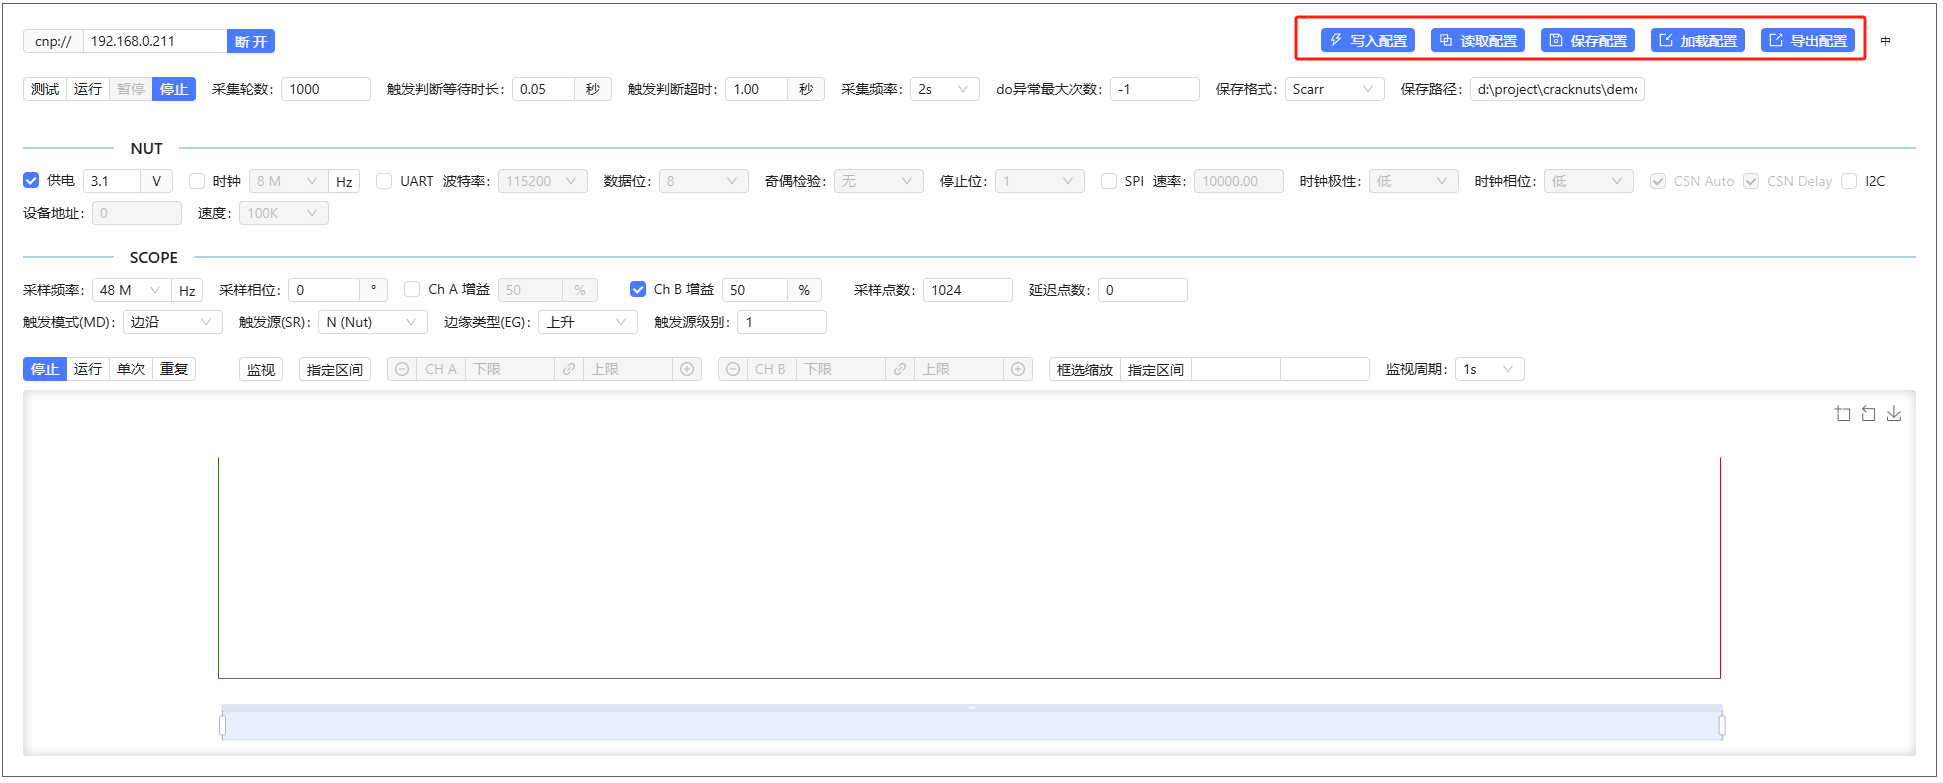
- Save Config: saves to a notebook-linked config file
- Export Config: saves to an external config file
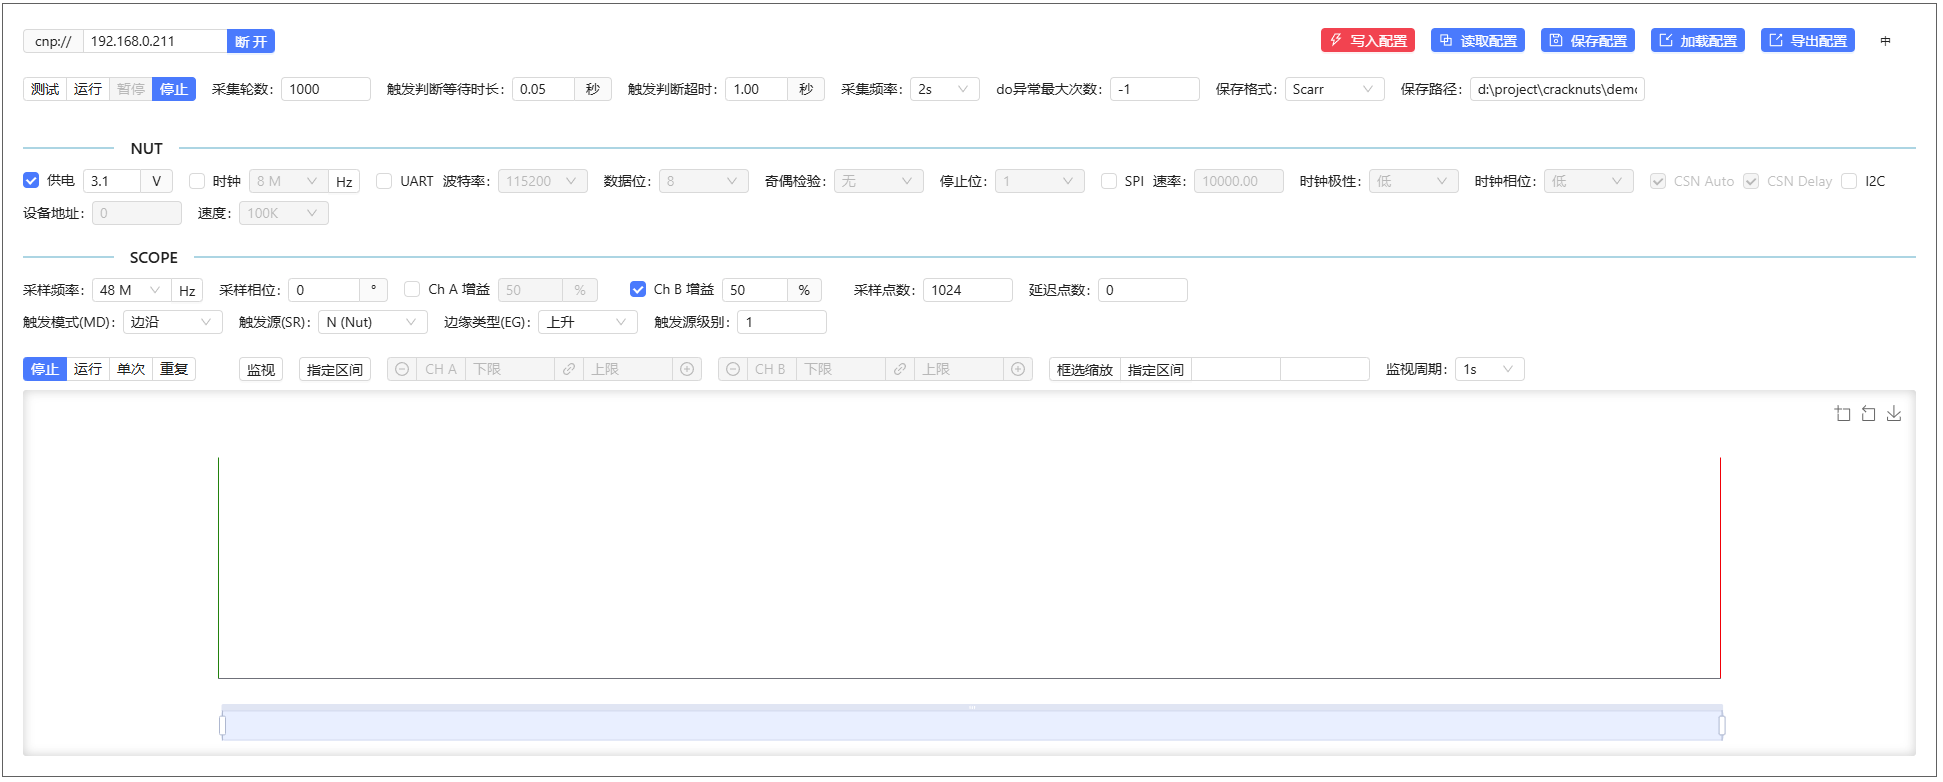
If the control panel loads a config file that differs from the device, the Write Config button turns red, indicating a mismatch. Manual syncing is required.
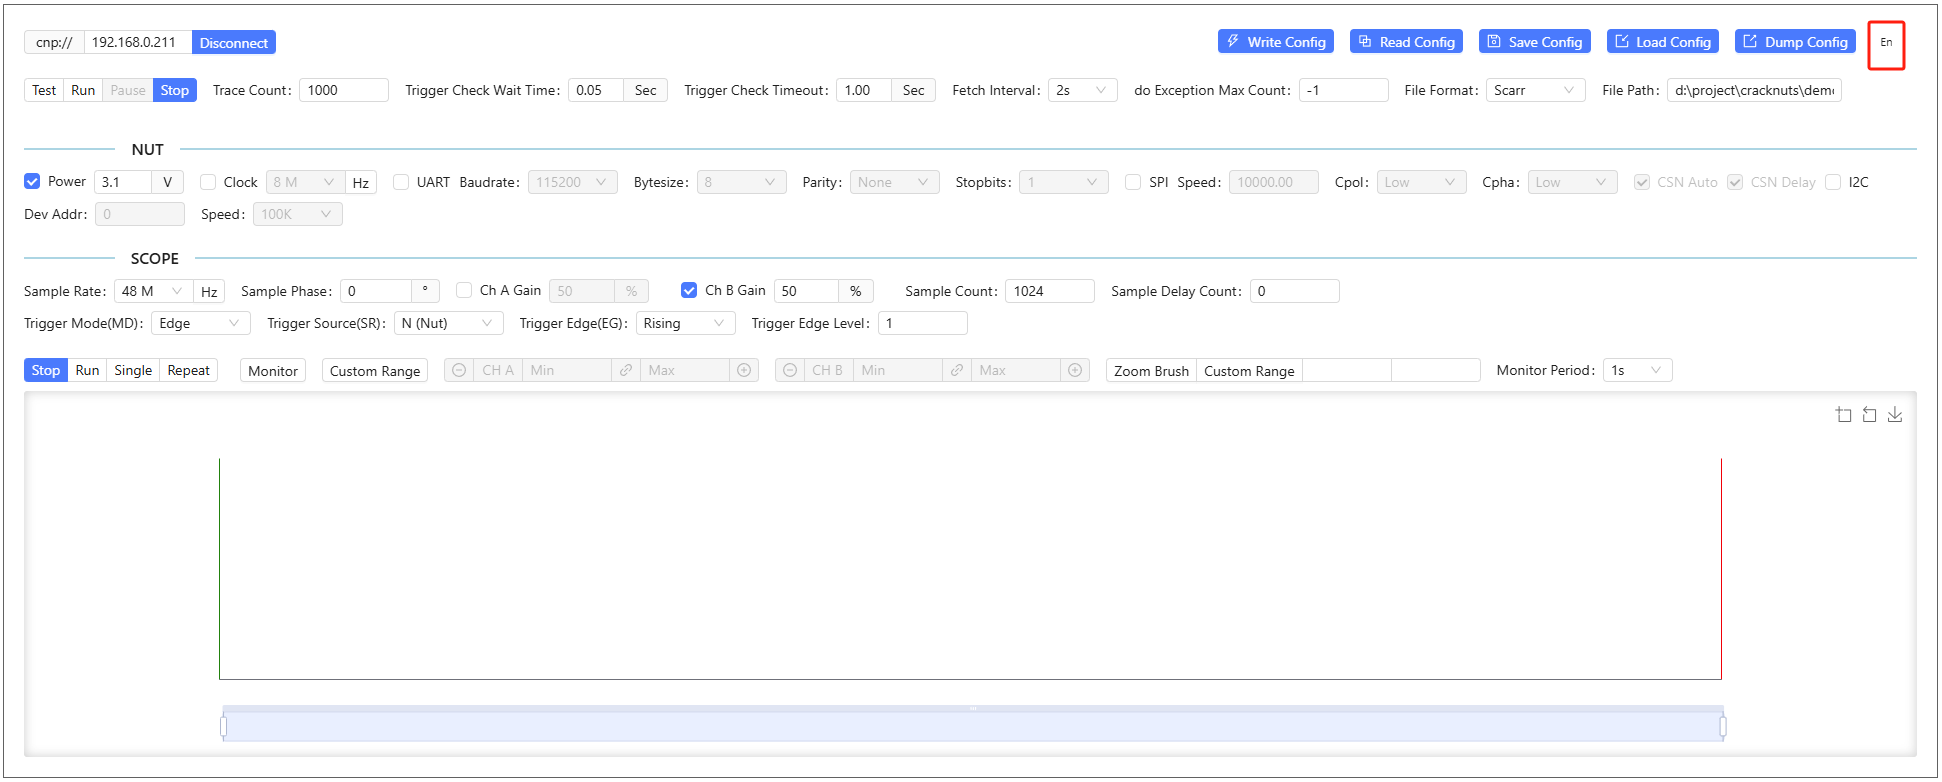
Language Switch
Default language is English. Use the top-right language toggle to switch to Chinese:
Default Jupyter Workspace
To configure a default workspace for cracknuts lab, use:
cracknuts config set lab.workspace
Log Configuration
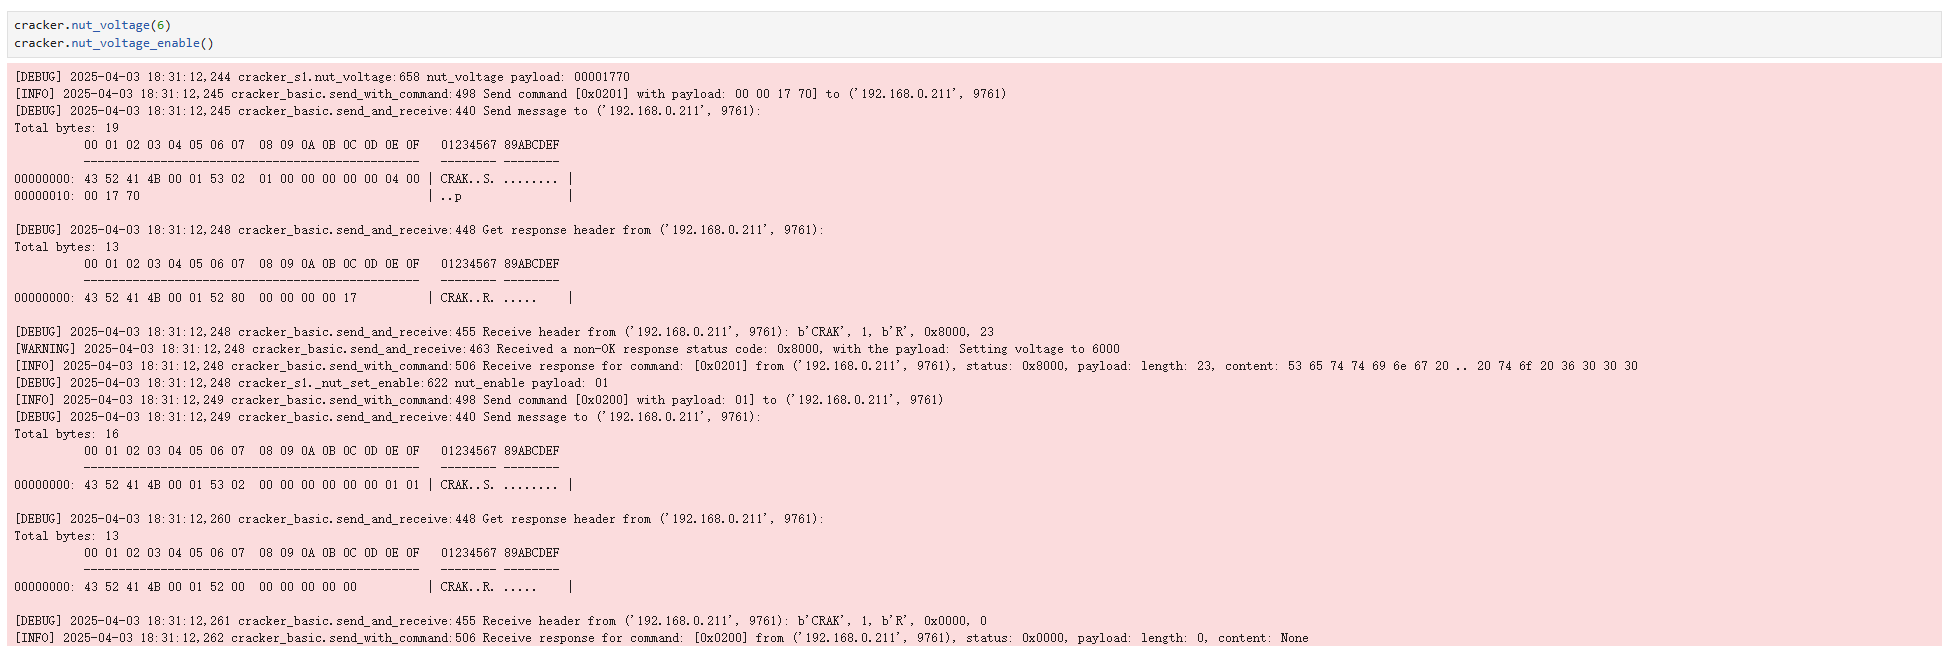
By default, logs are printed in the console or notebook cell for debugging:

Set Log Level
Default is warning. Set to info:
from cracknuts import logger
logger.set_level('info')

Set to debug for verbose logging:
from cracknuts import logger
logger.set_level('debug')
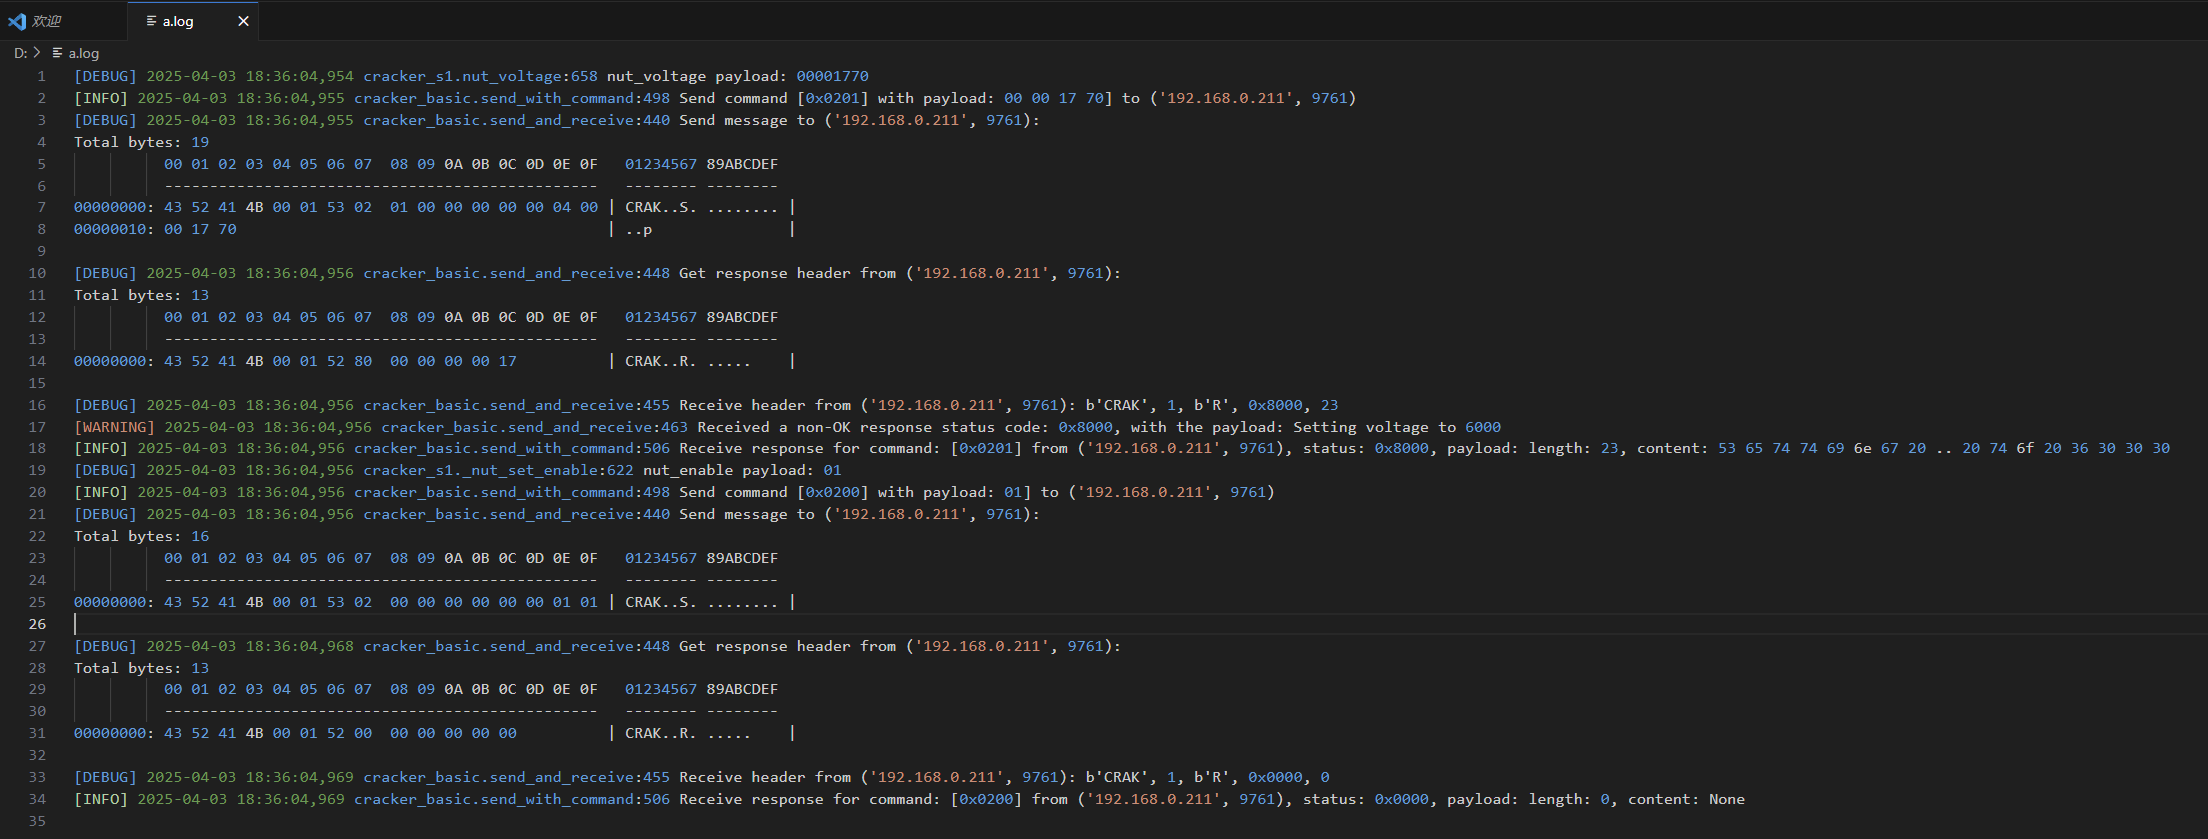
Redirect Logs to File
To avoid flooding the notebook:
from cracknuts import logger
logger.handler_to_file(r"d:\a.log")
Then check the log file using a text editor:
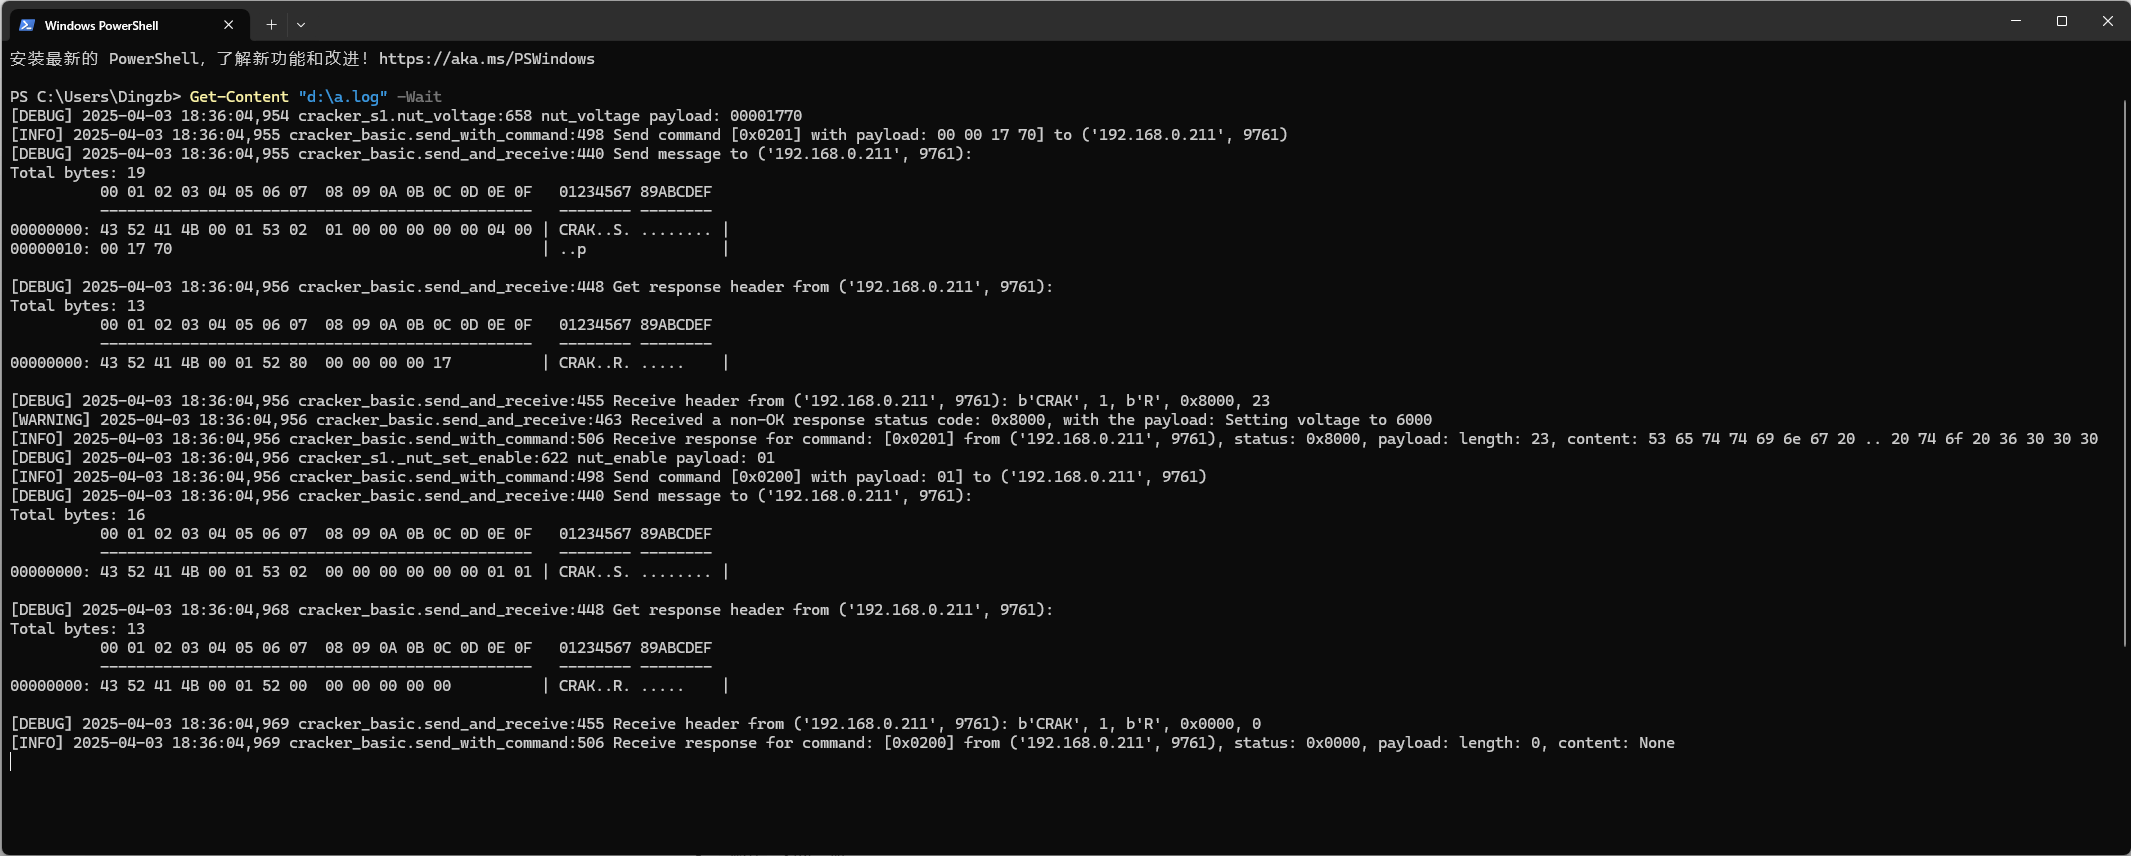
Or use real-time monitoring:
Linux/macOS:
tail -f d:/a.log
Windows (Powershell):
Get-Content "d:\a.log" -Wait
Change Cracker IP Address
If connecting Cracker to an existing Ethernet, make sure the network is in 192.168.0.0/24. If not, change the IP:
- Connect directly to the device.
- Use the SDK to change IP:
import cracknuts as cn
s1 = cn.new_cracker('192.168.0.10')
s1.connect()
s1.get_operator().set_ip('192.168.0.251', '255.255.255.0', '192.168.0.1')  # Use your network settings
The new IP will be shown on the device screen.