Nut Development Getting Started - Basics
Step 1. Environment Preparation
1. STM32CubeIDE
![]()
1.1 Program Introduction
STM32CubeIDE is an integrated development environment (IDE) developed by STMicroelectronics specifically for the STM32 series microcontrollers. It is based on the Eclipse framework and integrates code writing, compiling, debugging, and configuration functions, aiming to simplify the development process of STM32 microcontrollers.
In this project, you can edit Nuts (the device under test) to analyze information status under different modes.
1.2 Program Download and Installation
Official download link for STM32CubeIDE: STM32CubeIDE: Multi-OS Development Tool - STMicroelectronics;

Using Windows as an example
The version used in this project is STM32CubeIDE 1.16.1, installation package size (1GB), download time approximately (10 minutes), may vary depending on network speed.
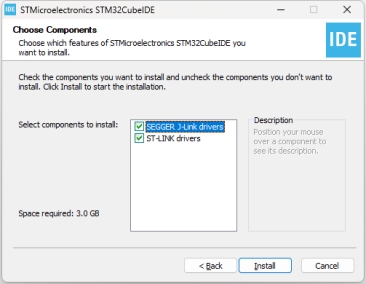
After confirming the selected options, click Install
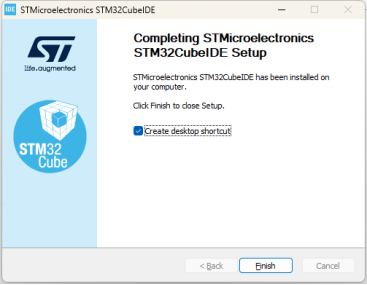
Select options and create desktop shortcut
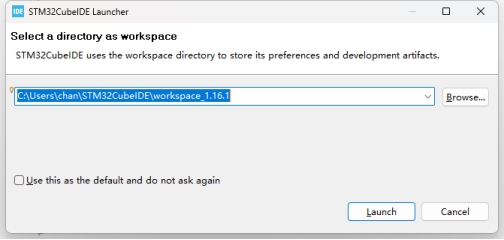
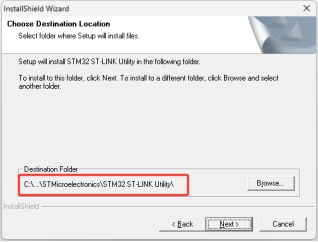
During installation, you can temporarily specify a configuration folder to configure subsequent projects. If the project has already been created, just select the folder of the corresponding project to call it.
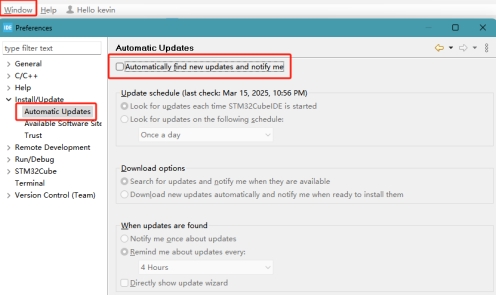
After startup, manually disable automatic updates
(Automatic upgrades of STM32CubeIDE software can cause project compatibility issues, it is recommended to disable automatic updates)
2. GIT
![]()
2.1 Program Introduction
Git is a distributed version control system widely used in software development and document management, serving the purpose of managing code in this project.
2.2 Program Download and Installation
Official download link: Git - Downloading Package (git-scm.com)
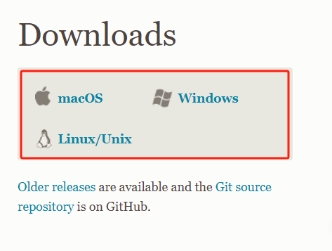
Choose the corresponding operating system on the Git official website to download
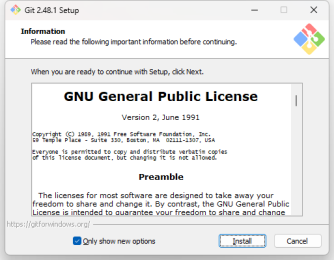
For Windows, select and install
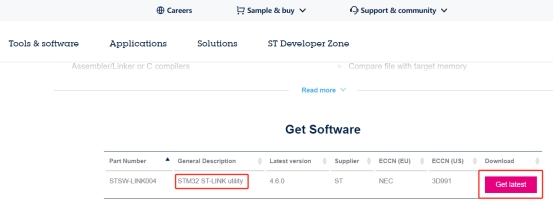
3. STM32 ST-LINK Utility
![]()
3.1 Program Introduction
A tool software launched by ST company specially used for communication and debugging with STM32 microcontrollers. In this project, it can be used for programming Nuts (the device under test).
3.2 Program Download and Installation
Confirm the program and start downloading and installing
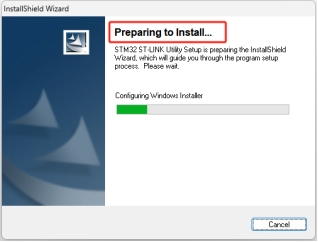
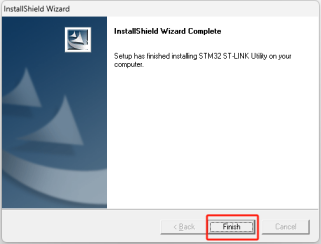
Installation complete
Step 2. Project Creation and Import
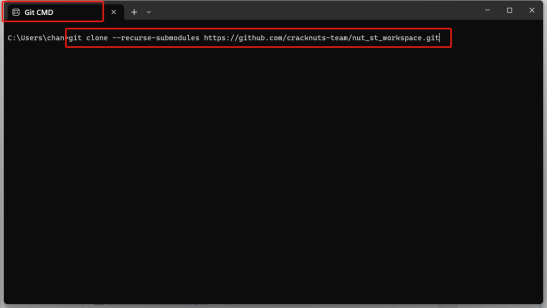
1. Open Git CMD and enter the command to clone the repository
git clone --recurse-submodules https://github.com/cracknuts-team/nut_st_workspace.git
Note that this operation sets nut_st_workspace as the working repository
If you are syncing using the Gitee repository, please follow these steps:
-
Sync the main repository code
git clone https://gitee.com/cracknuts-team/nut_st_workspace.git
git submodule
Keep the output of
git submoduleabove, it will be used below and looks like:-88fc810bfa5852609bb2cf71011fa8b9a0860cae process/mbedtls -
Clone the submodule code
cd nut_st_workspace/process/mbedtls
git clone https://gitee.com/cracknuts-team/mbedtls.git .
Using the submodule commit ID obtained in the first step:
88fc810bfa5852609bb2cf71011fa8b9a0860cae, checkout that commit:git checkout -b temp 88fc810bfa5852609bb2cf71011fa8b9a0860cae
These two steps complete code synchronization with the Gitee repository.
💡TIP: Note that code synced this way should not commit submodule commits to the main repository
2. Run STM32CubeIDE software
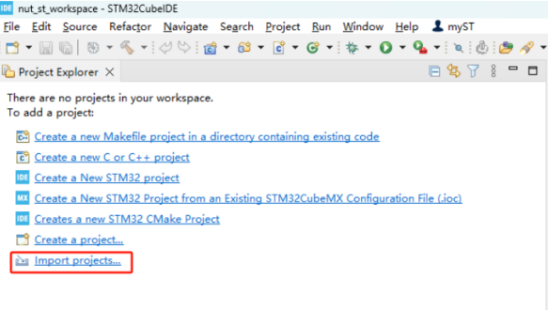
Select Import Project
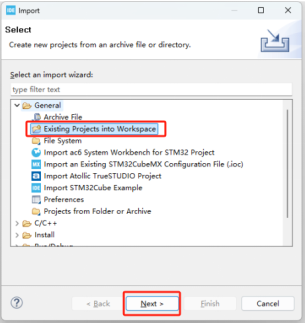
Import the project cloned via Git
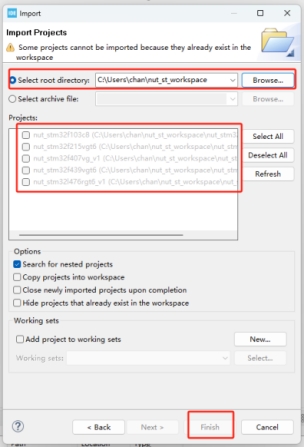
View nut_st_workspace file path and select the project
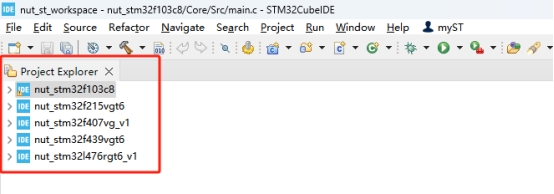
After importing, the interface shows all items
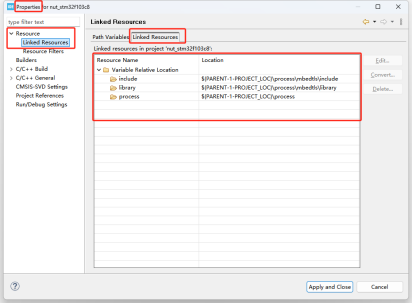
Check and confirm link configuration
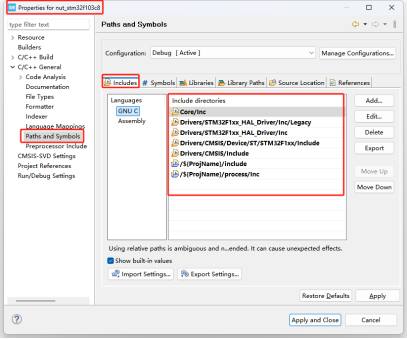
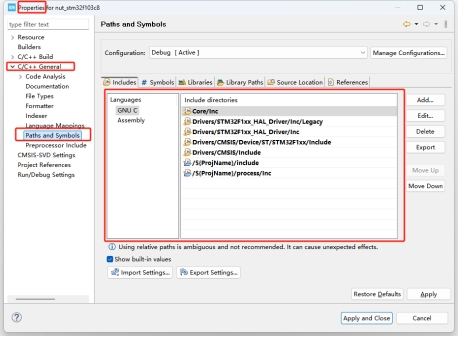
Check and confirm Include Path configuration
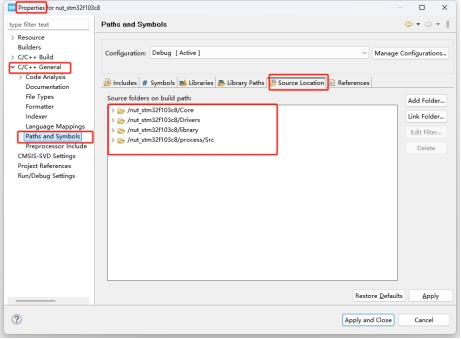
Check and confirm Src path configuration
The above steps should be checked and confirmed
Step 3. Hardware Preparation
Nut board, ST-LINK programmer
Connect the Nut board with the ST-LINK programmer: SWCLK connects to DCK, SWDIO connects to DIO, GND connects to GND, and 3.3V connects to VCC.
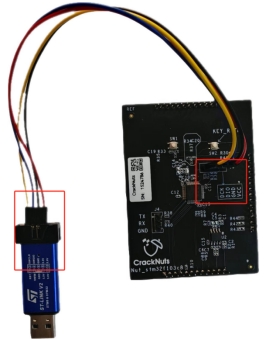
After connecting the pins in order, insert the USB port into the PC for the next step.
Step 4. Compile and Burn
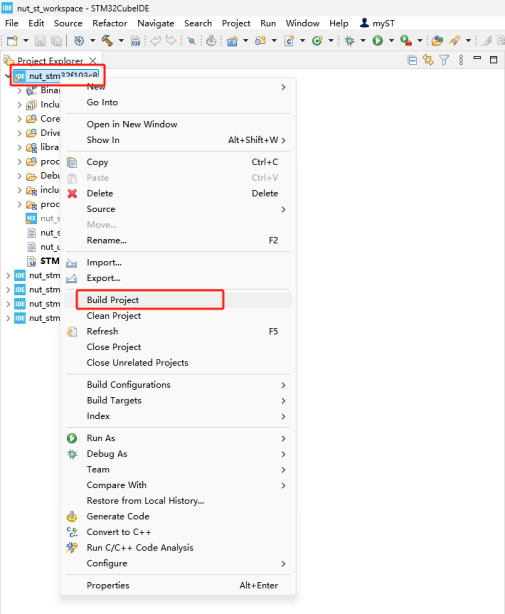
1. Project Compilation
Run the STM32CubeIDE program and select the project to compile, the example shown is the STM32F103C8 chip project.
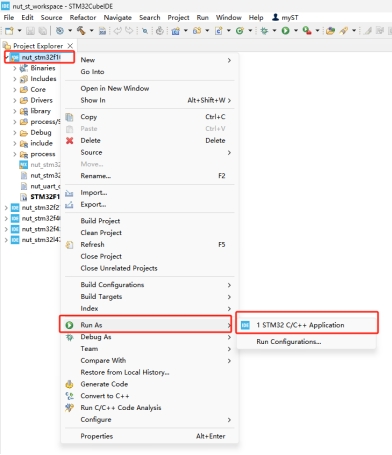
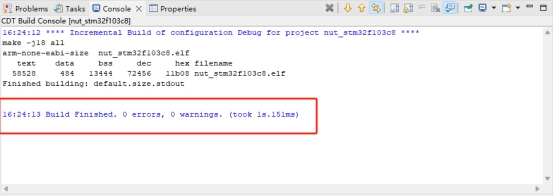
After running Run AS - ensure no compilation errors, the status shown in the software bottom window indicates normal
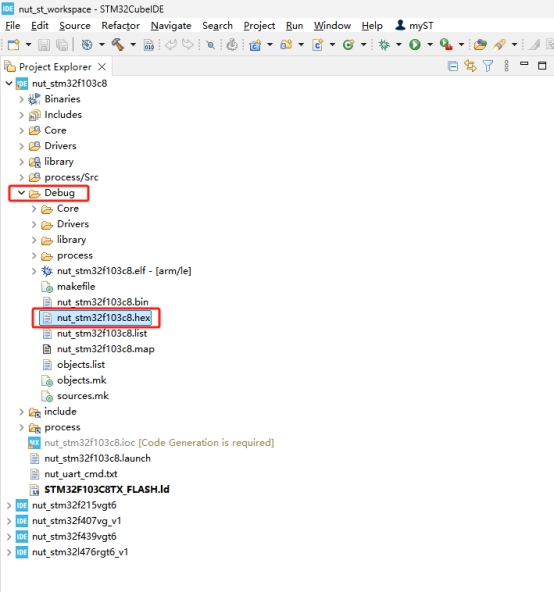
Check the generated .hex file
2. Nut Burning
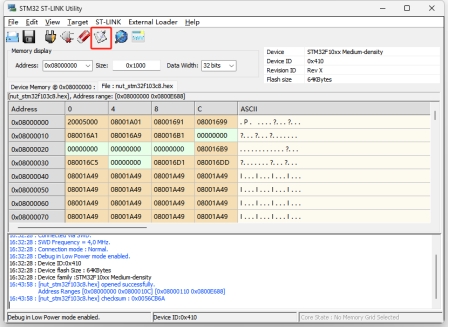
Run the STM32 ST-LINK Utility program to connect the Nut.
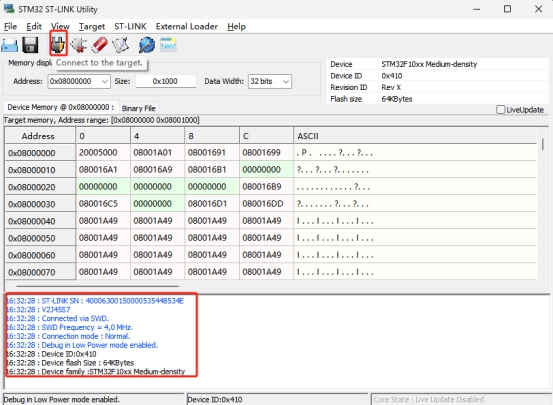
Confirm connection status
Open the file, find the corresponding chip model file under the nut_st_workspace path and confirm selection.
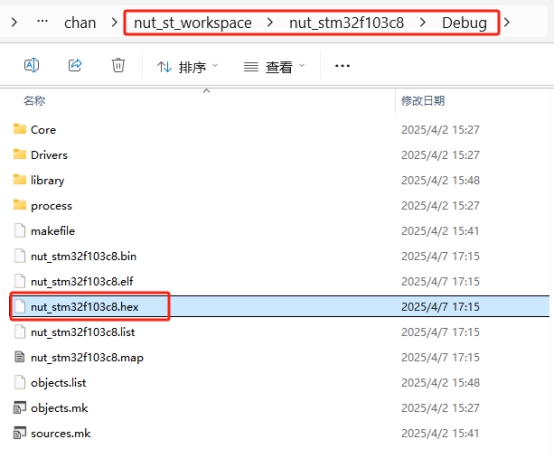
Example is nut_stm32f103c8
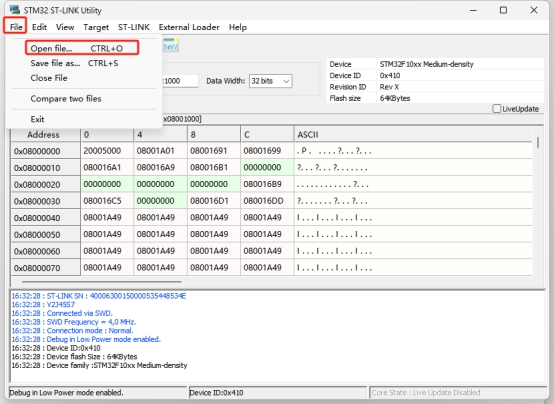
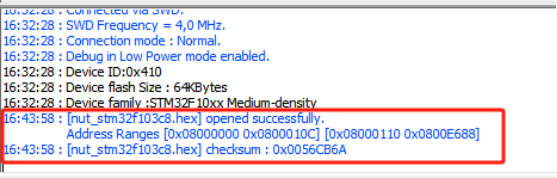
Prompt after successful file opening
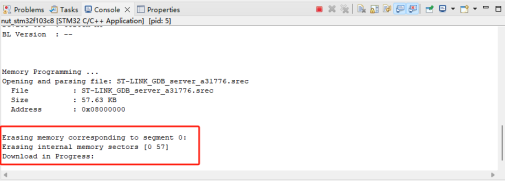
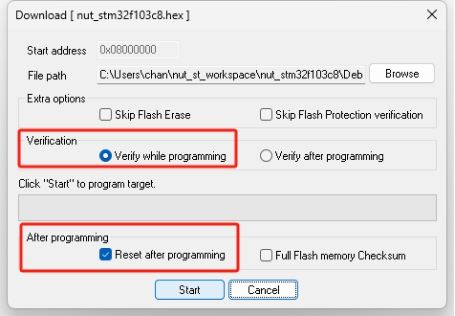
Start burning
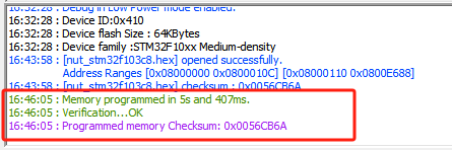
Burning successful, ready to install to Cracker.